
How to Make a Drawing Transparent in PowerPoint: A Step-by-Step Guide from an Expert
How to make a drawing transparent in PowerPoint: two methods with step-by-step instructions. Shape fill, transparent color, optimal values 30-50% - without third-party programs and in a couple of clicks.

How to make a picture transparent in PowerPoint: Insert a rectangular shape, fill it with an image via Format Shape → Fill → Pattern or Texture and adjust the transparency slider from 0 to 100%. The second method is the Set Transparent Color tool to remove one specific color from an image.
A slide with a dark image on top of the text is a classic sign of a bad presentation. Setting the transparency of images in PowerPoint eliminates this problem: a translucent image blends into the background, does not overlap the text or ruin the composition of the slide. Everything you need is already built into Microsoft Office - without third-party programs or additional plugins.
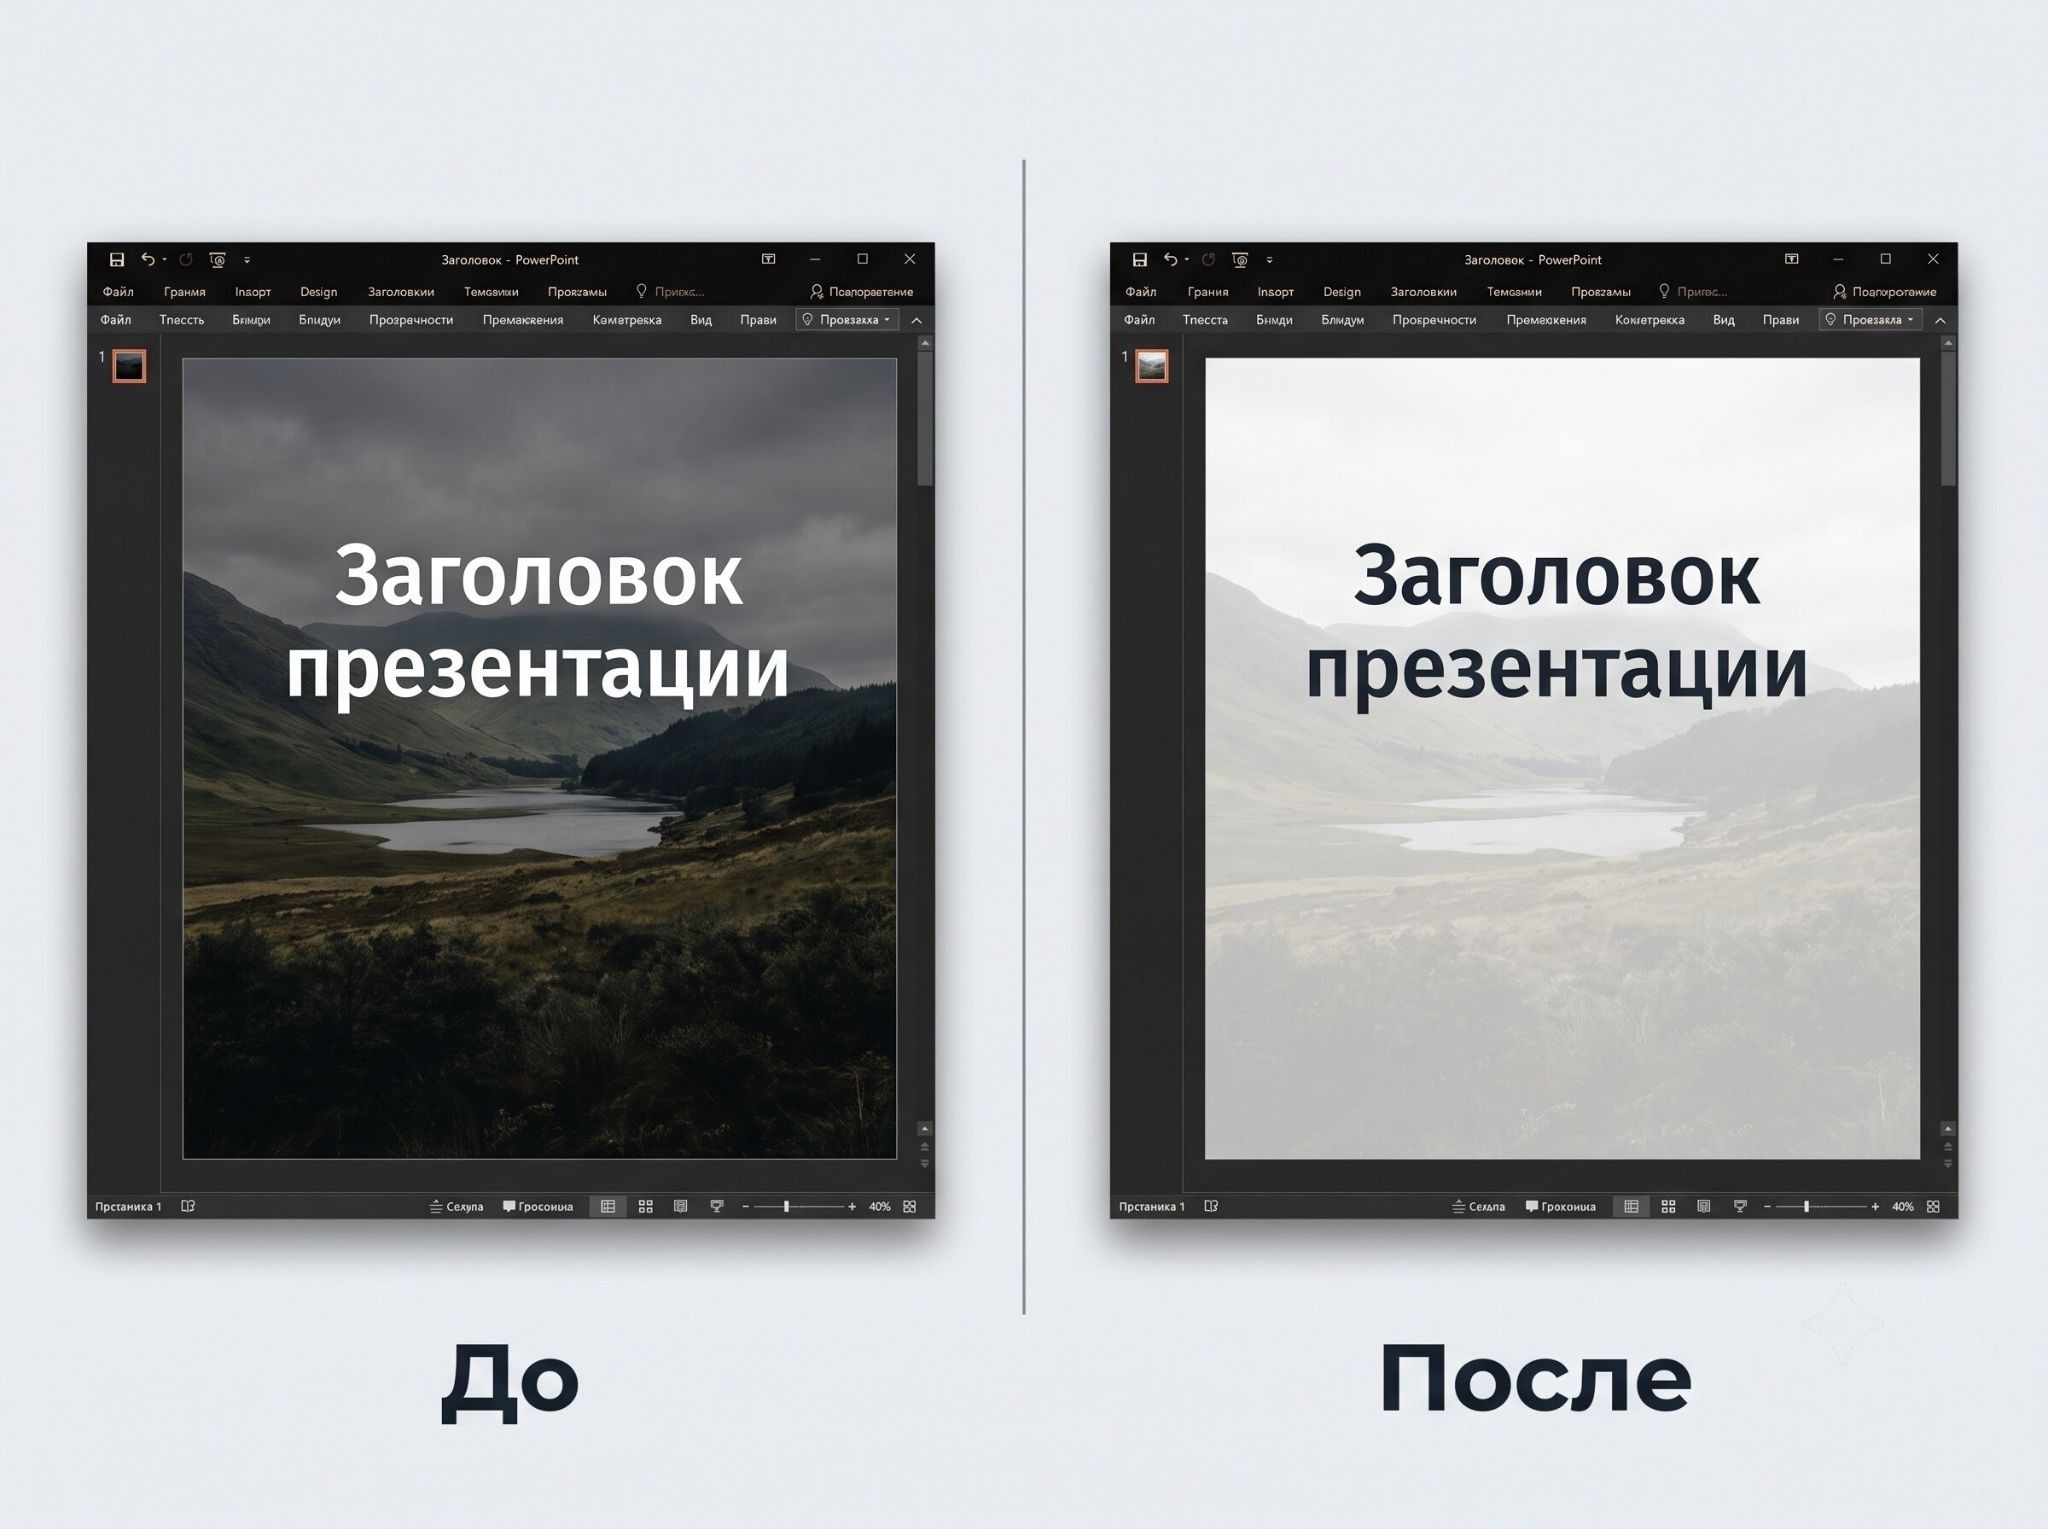
Why do you need image transparency in presentations?
A translucent background, a logo without a white frame, an unobtrusive texture on the background - all this is the result of adjusting the transparency of the picture in PowerPoint. When the picture visually “retreats”, the text comes to the fore and the slide no longer looks overloaded.
Good transparency in a presentation improves readability: the audience sees the meaning rather than being stared at by a flashy photograph. This is especially noticeable on title slides, where the background image occupies the entire screen, and the title must be read clearly.
Microsoft PowerPoint offers two different tools:
|
Method |
What does |
When it suits |
Difficulty |
|
Filling a shape |
Makes the entire image semi-transparent |
Backgrounds, substrates, watermarks |
Low |
|
Set transparent color |
Removes one specific color |
Logos and icons on a plain background |
Low |
The first method controls the overall transparency in PowerPoint through a slider, the second removes one color point by point - for example, the white background under the logo. The choice depends on the task.
Method 1 - How to make the entire image transparent using shape fill
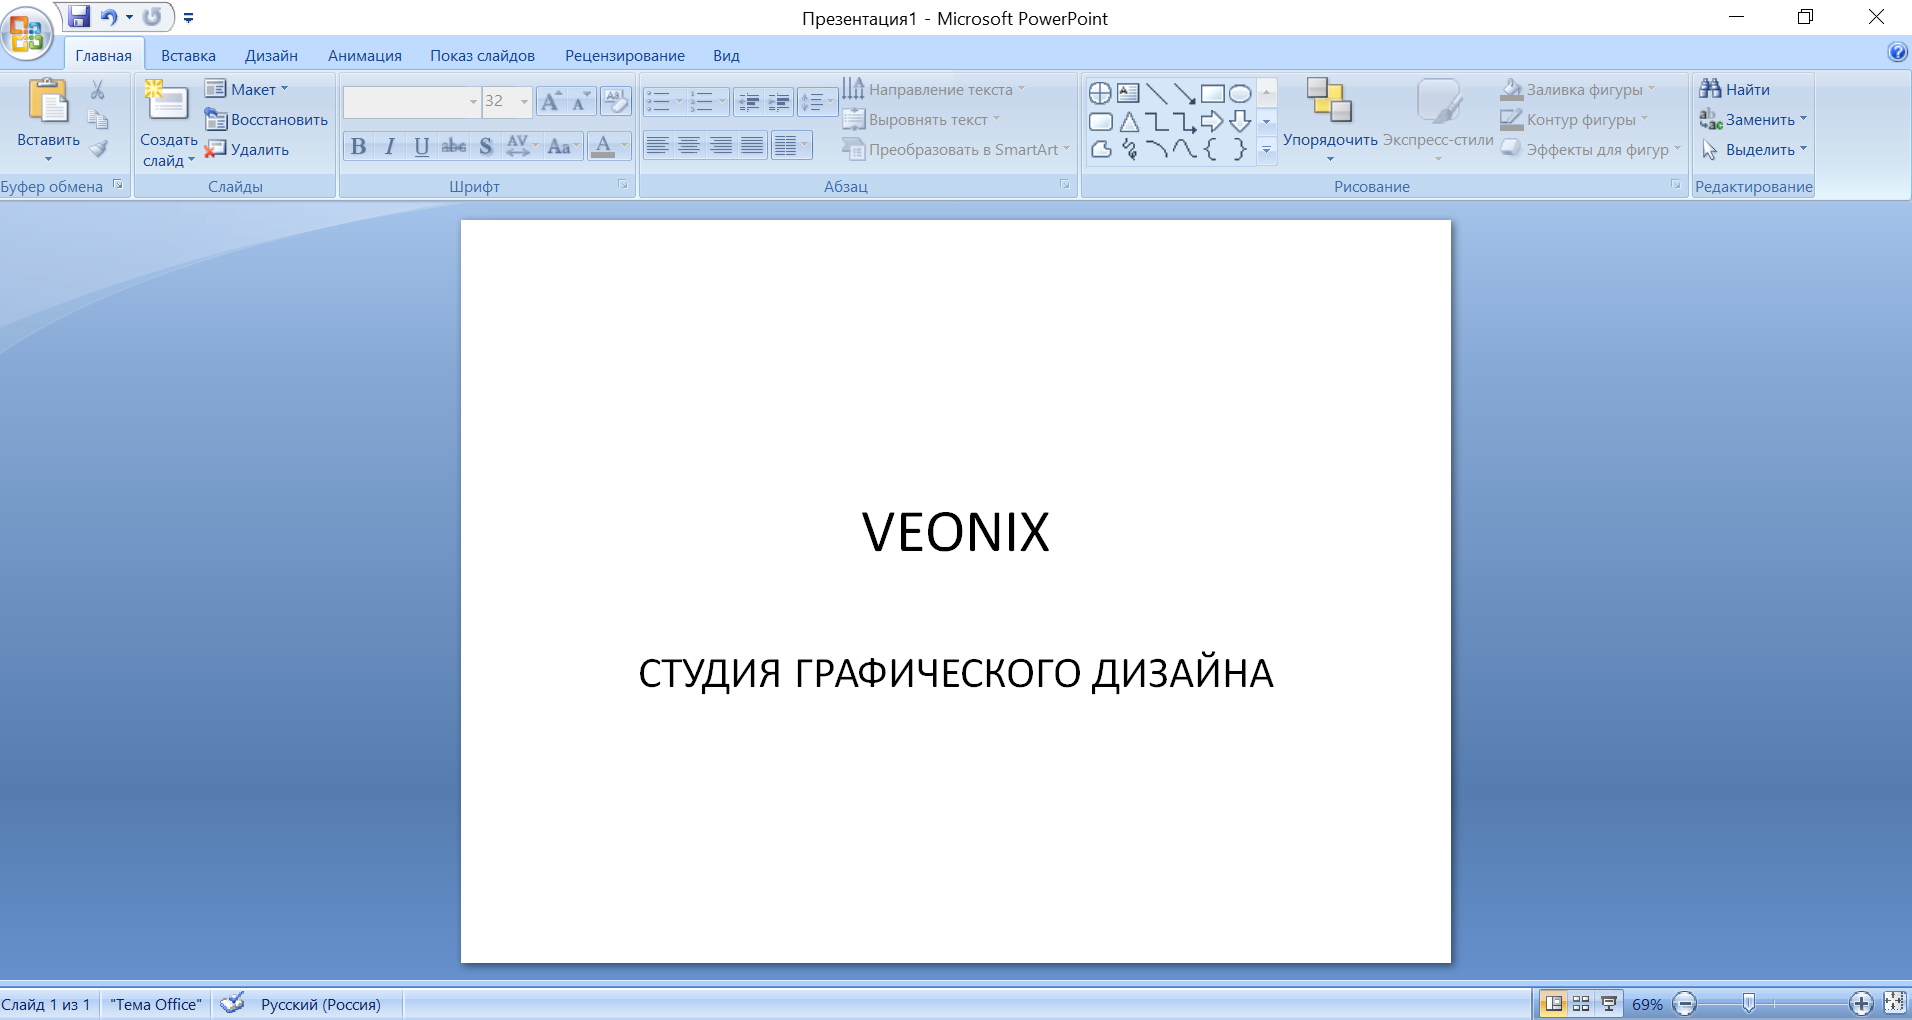
This method works in all versions of PowerPoint, including the older 2007 and 2010, and on both Windows and macOS. Principle: instead of directly inserting an image, you create a rectangular shape and “fill” it with an image through a fill. PowerPoint then opens a transparency slider that a regular inserted picture doesn't have.
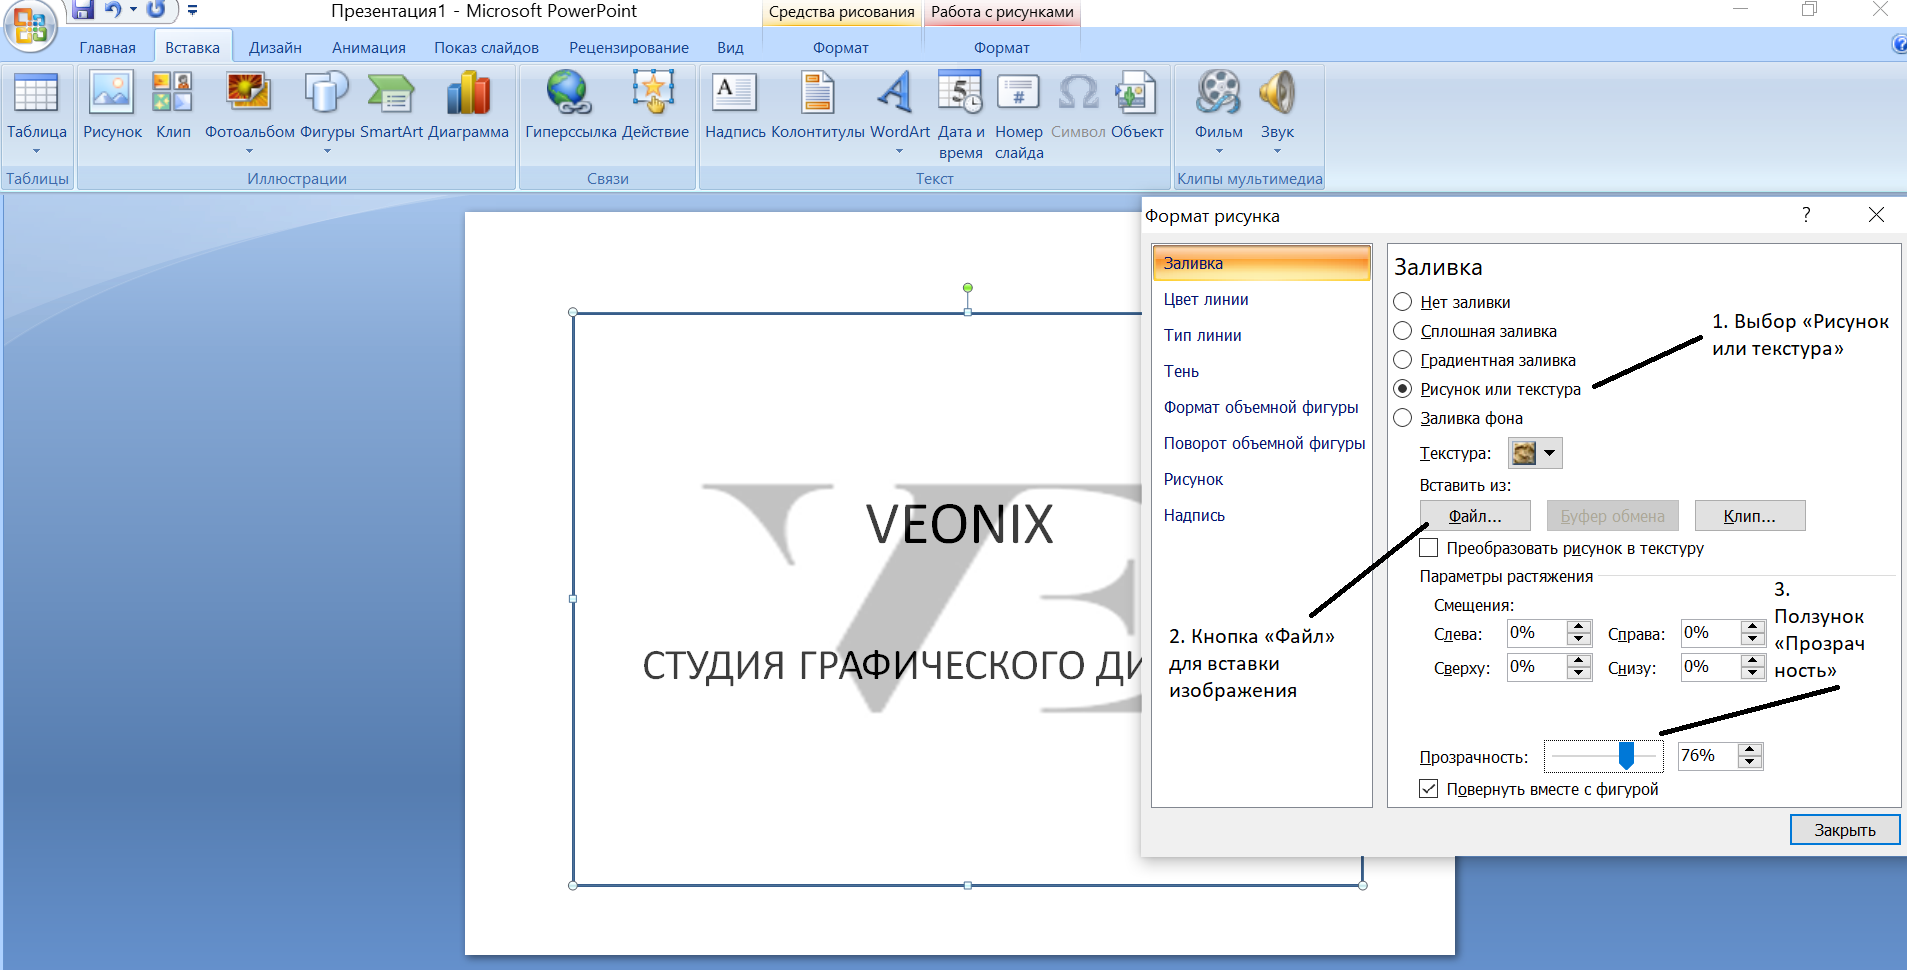
Step-by-step instructions on how to make an image transparent in PowerPoint:
-
Go to the Insert tab → Shapes → select Rectangle.
-
Draw a shape on the slide - according to the size and location of the future picture.
-
Right-click on the shape → select Format Shape.
-
Open the “Fill” section in the right panel → select “Pattern or Texture”.
-
Click the "File" button → select the desired image on your computer.
-
Move the Transparency slider to the desired value.
-
Go to the “Line” section → select “No Line” to remove the outline of the shape.
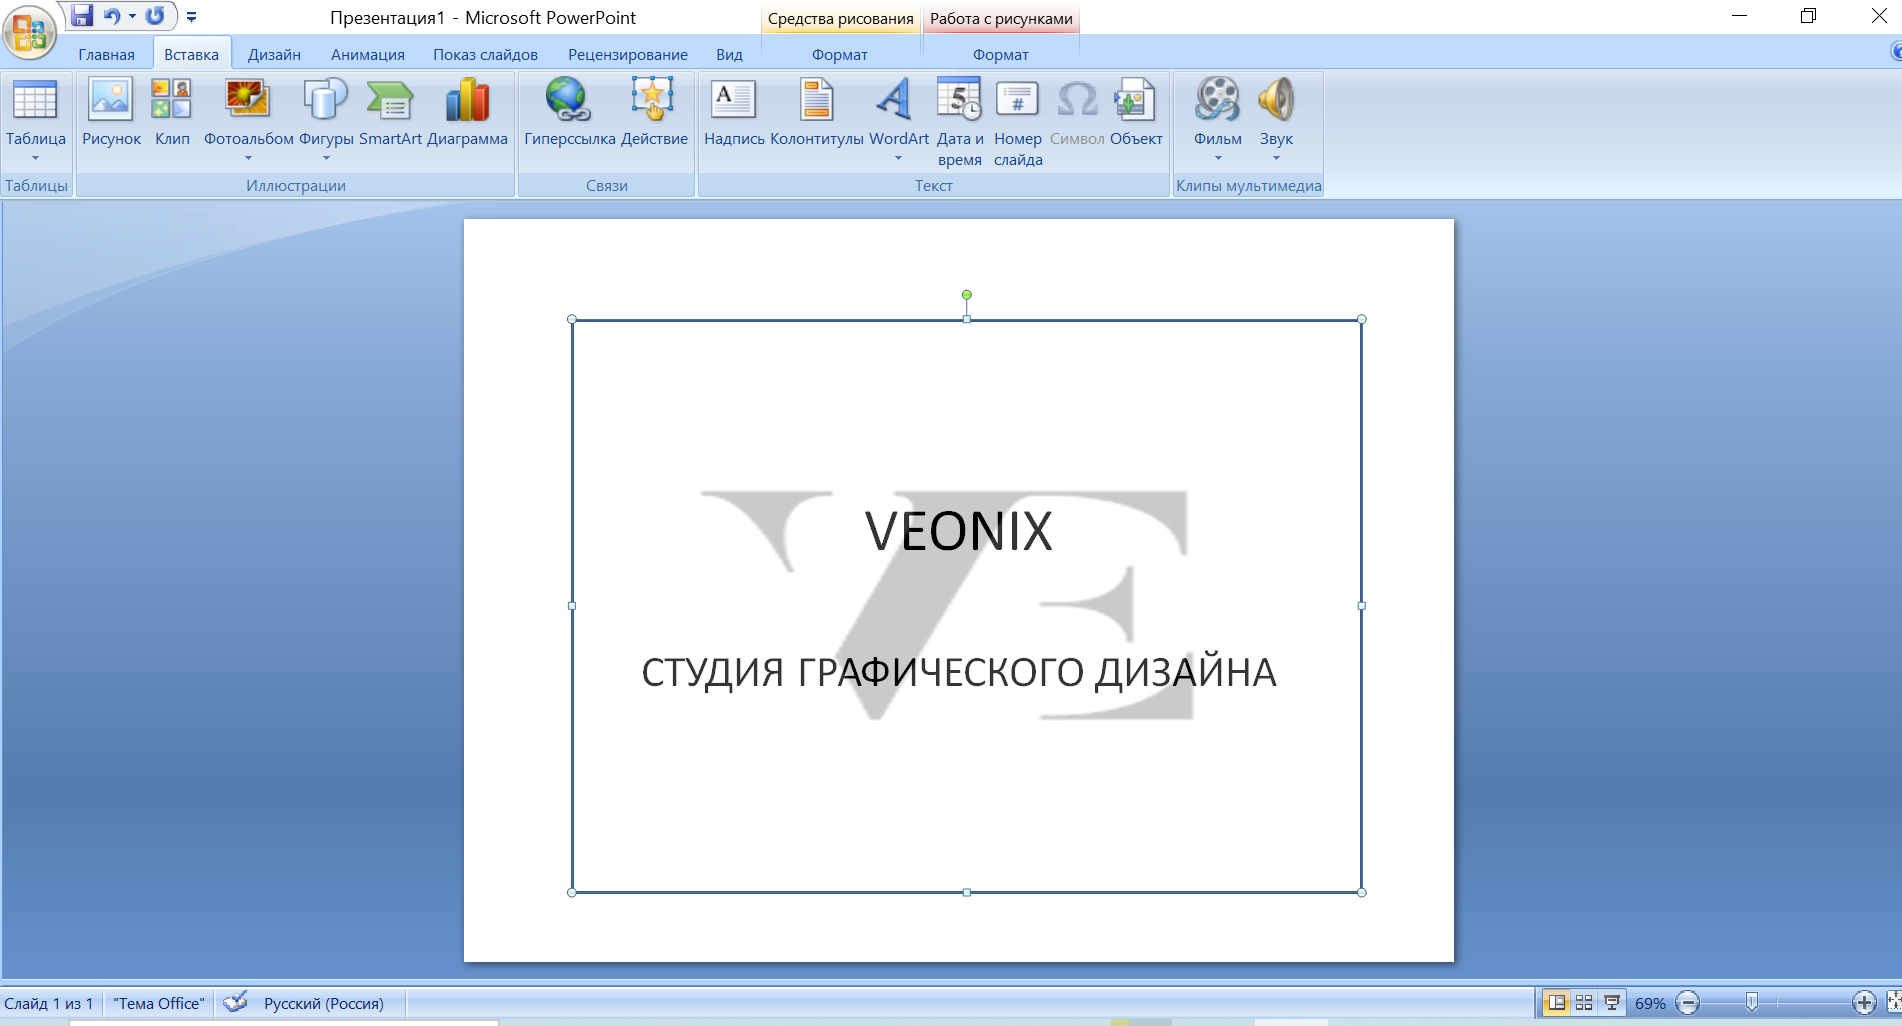
For background images, the range of 30–50% works optimally: the image remains noticeable, but does not conflict with the text. Values above 70% result in an almost invisible background - good for watermarks. Below 15% there is practically no effect.
Users of Microsoft 365 and PowerPoint 2021 can save a couple of steps: in these versions, a regular inserted image now has a direct transparency slider (it doesn't exist in the 2019 version). You can find it through “Picture Format” → section “Picture” → “Transparency” - without creating a figure.
If PowerPoint presentations take you too much time, the Veonix team creates them on a turn-key basis: investment pitches, tender applications, corporate reports. View examples and leave a request.
Method 2 – How to make one color in an image transparent
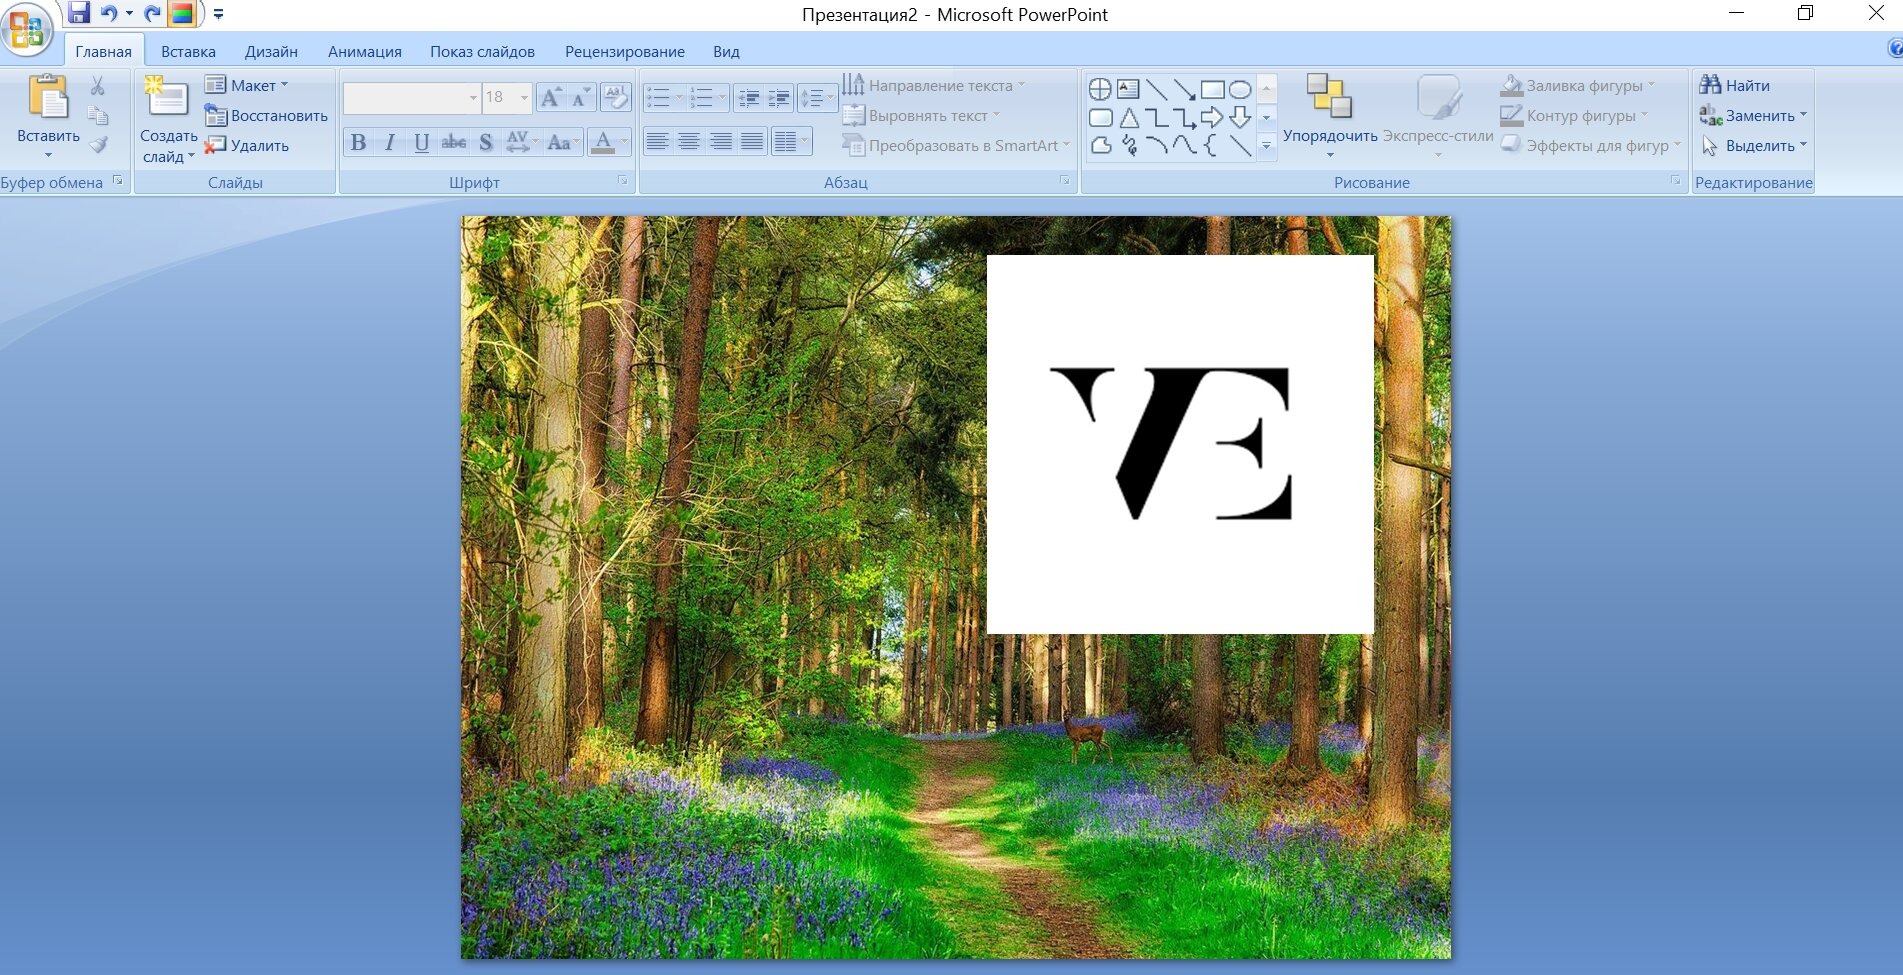
The Set Color to Transparent tool works differently: you click a specific color in a picture, and PowerPoint makes it invisible across the entire image. No sliders, no shapes - just one click with an eyedropper.
Instructions on how to make a transparent background of a picture in PowerPoint using this method:
-
Insert an image onto the slide: “Insert” → “Drawings”.
-
Select the image and go to the Picture Format tab.
-
Click "Color" → select "Set Transparent Color" from the drop-down menu.
-
The cursor will change to an eyedropper - click on the color you want to remove.
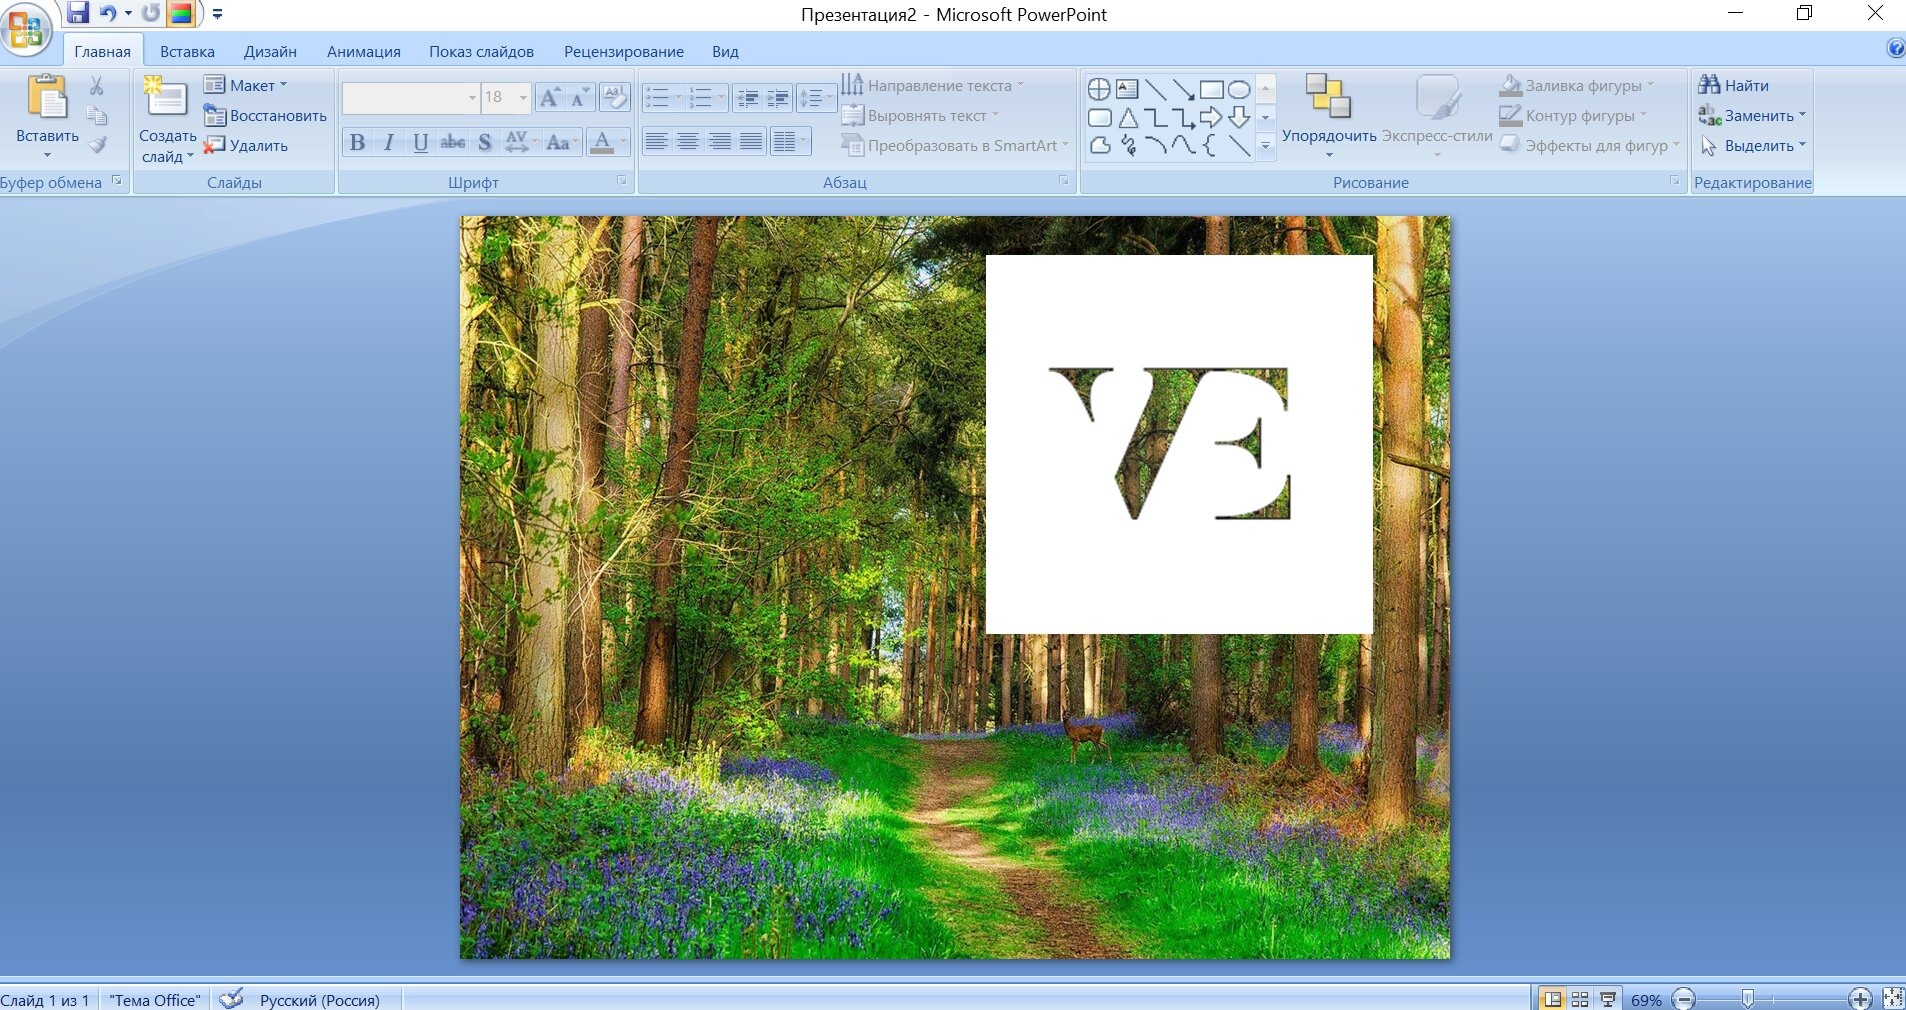
The classic scenario: the company logo on a white rectangle on top of a colored slide. One click on the white background - and the transparent background of the picture in PowerPoint is ready, the logo appears organically on the slide.
The main limitation of the method: it removes only one uniform color. If the picture has a blurred or gradient background, some pixels of a different shade will remain, and the effect will be torn. For such cases, PowerPoint provides another tool - “Remove Background” (Picture Format tab). It automatically selects the object and removes everything around it. “Remove background” and “Set transparent color” are different operations with different application scenarios.
The image format here also affects the result. Due to the compression algorithm, JPG makes neighboring pixels slightly different in hue - the tool perceives them as different colors and works less accurately. PNG stores colors more accurately and produces cleaner results.
More ways to work with transparency in PowerPoint
Two basic methods cover most tasks. If none of them work, here are a few more options for changing transparency in PowerPoint:
-
Artistic effects - tab “Picture Format” → “Artistic Effects”: more than 20 effects, some of which brighten the image and visually reduce its weight on the slide.
-
Direct slider in Microsoft 365 - Picture Format → Picture → Transparency: Controls transparency directly without creating a shape, available in Microsoft 365 and PowerPoint 2021+.
-
Preparation in a third-party editor - Figma, Photoshop or GIMP: save the image with a transparent background in PNG format in advance, and insert the finished file into PowerPoint without additional settings.
Common mistakes when setting image transparency
Image transparency does not work in PowerPoint - most often this is not a program error, but one of the typical situations. Here are the most common:
-
Export the entire slide to save the image. If you simply save the entire slide as a PNG or JPG, the background will still appear white—PowerPoint does not export slides with transparent backgrounds. To pull out the picture itself with transparency, right-click on it and select “Save as picture” (and here select the PNG format).
-
“Set transparent color” on a complex background. The tool only works with a uniform color. A gradient or blur will give a jagged result - use “Remove Background” or process the image in the editor in advance.
-
Transparency is too high. Values above 70% make the picture almost invisible - it loses its meaning. For backgrounds, the optimum is 30-50%, for watermarks - 60-70%.
-
The outline of the figure remained visible. With the fill method, the outline is preserved by default - an unwanted frame appears on the slide. Can be removed via “Shape Format” → “Line” → “No Line”.
-
Inappropriate image format. A JPG file with a gradient background plus the Set Transparent Color tool is a guaranteed bad result. Check the file format and the nature of the background before choosing a method.
Key Findings
-
How to make a picture transparent in PowerPoint - through a shape fill with a transparency slider (for the entire image) or through "Set transparent color" (for one specific color).
-
The optimal transparency in PowerPoint for background images is 30-50%, for watermarks - 60-70%.
-
To save the finished image with a transparent background, do not export the entire slide, but right-click on the image → “Save as picture” in PNG format.
-
Do not forget to remove the outline of the figure in the first method - otherwise an unwanted frame will appear on the slide.
Adjusting transparency is one of those PowerPoint tools that takes two minutes but changes the entire look of your slide. The main thing is to choose the right method for a specific task.