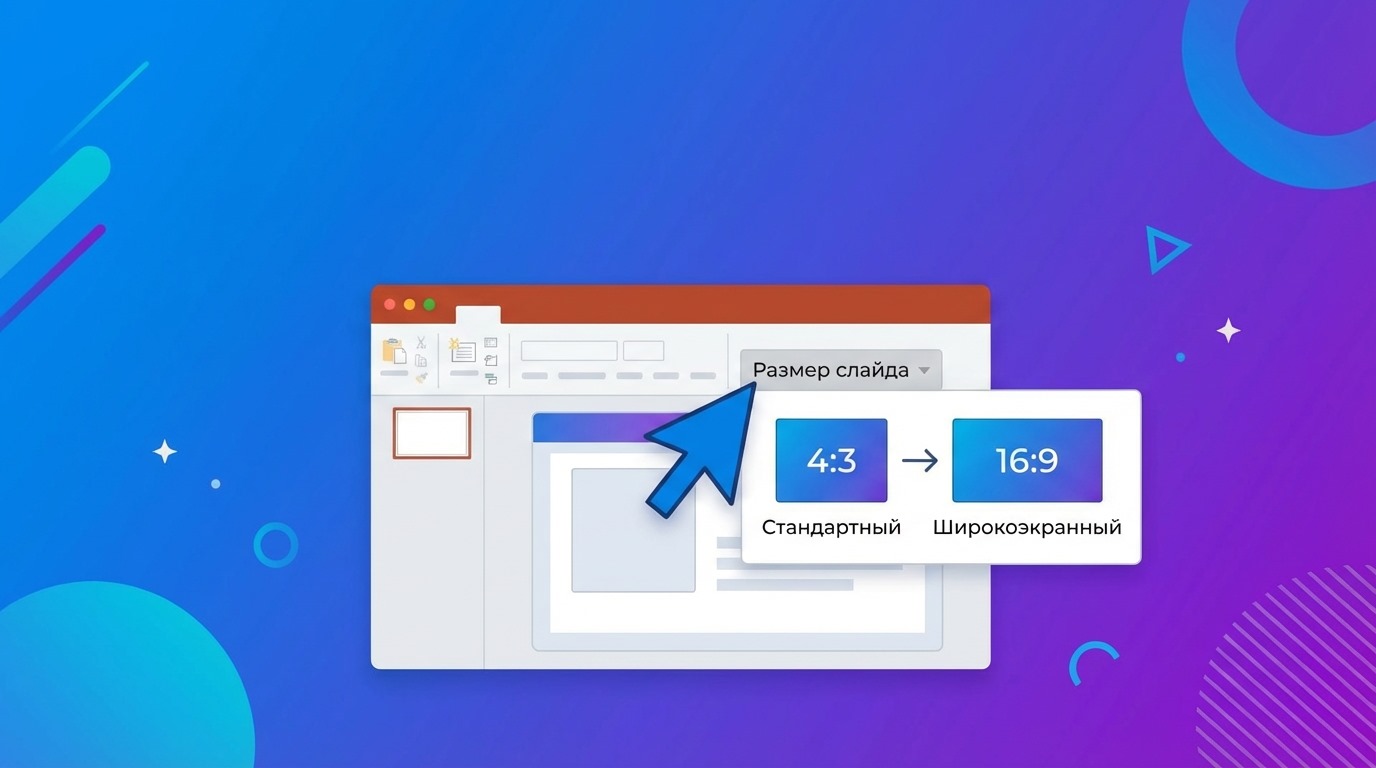
How to Resize a Slide in PowerPoint: An Expert Guide to Perfect Presentations
How to change the size of a slide in PowerPoint: a visual guide with photos. Change page proportions in 2 clicks. Maintain the quality of the content. Adaptation secrets from the pros.

You came to an important meeting, opened the file on the projector, and half the title disappeared because the size of the presentation was made by eye. Learn how to avoid this mistake once and for all.
Why it’s important to choose the right slide size in PowerPoint
Key findings:
-
The size of the PowerPoint slide depends on the output device.
-
The aspect ratio (16:9, 4:3, 16:10) affects the readability and layout of objects on the slide.
-
The incorrect format of PowerPoint presentation gives fields, cropping and unnecessary manual editing.
Step by step: how to change the size of the slide in PowerPoint
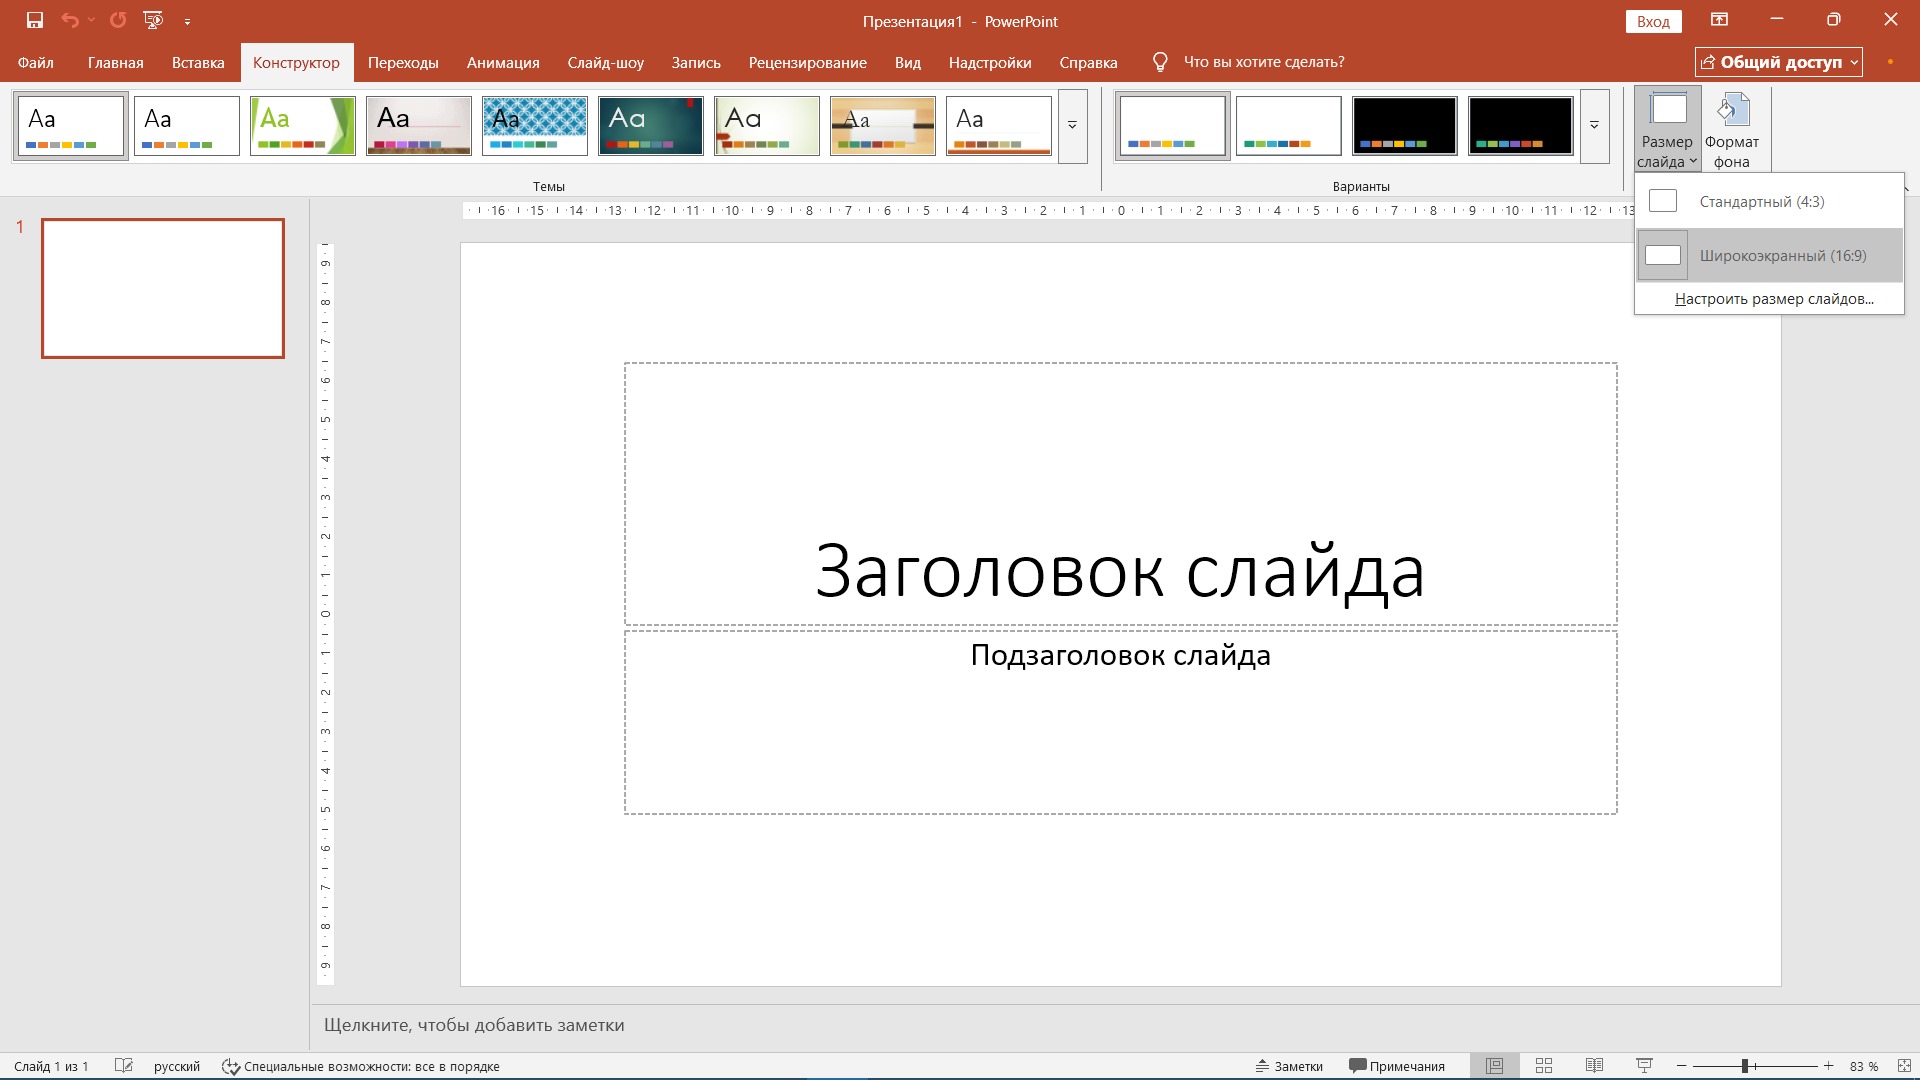
We recommend starting by checking the current settings, and then changing the size of the PowerPoint slide through the Design tab (or Designer in some versions). The change will apply to all pages.
-
Open the Design tab.
-
Press "Slide Size."
-
Select the standard option or open “Tune the size of the slides...”
-
Confirm and select content scaling mode.
How to check the current size of slides in PowerPoint
To find out the current size of the slide, go to the “Design” tab and open the “Slide Size” – there you can see what format is selected now. This step saves time when someone else’s presentation is sent to you.
Method 1: Change through the Design tab
If you need to quickly change the slide format in PowerPoint for a typical task, this is the shortest route:
-
"Design" -- "Slide size."
-
Choose Widescreen (16:9) or Standard (4:3).
-
When requesting PowerPoint, select the adaptation method.
This method is good when the size of the slide in PowerPoint should match the standard screen.
Method 2: Customize the user size of the slide
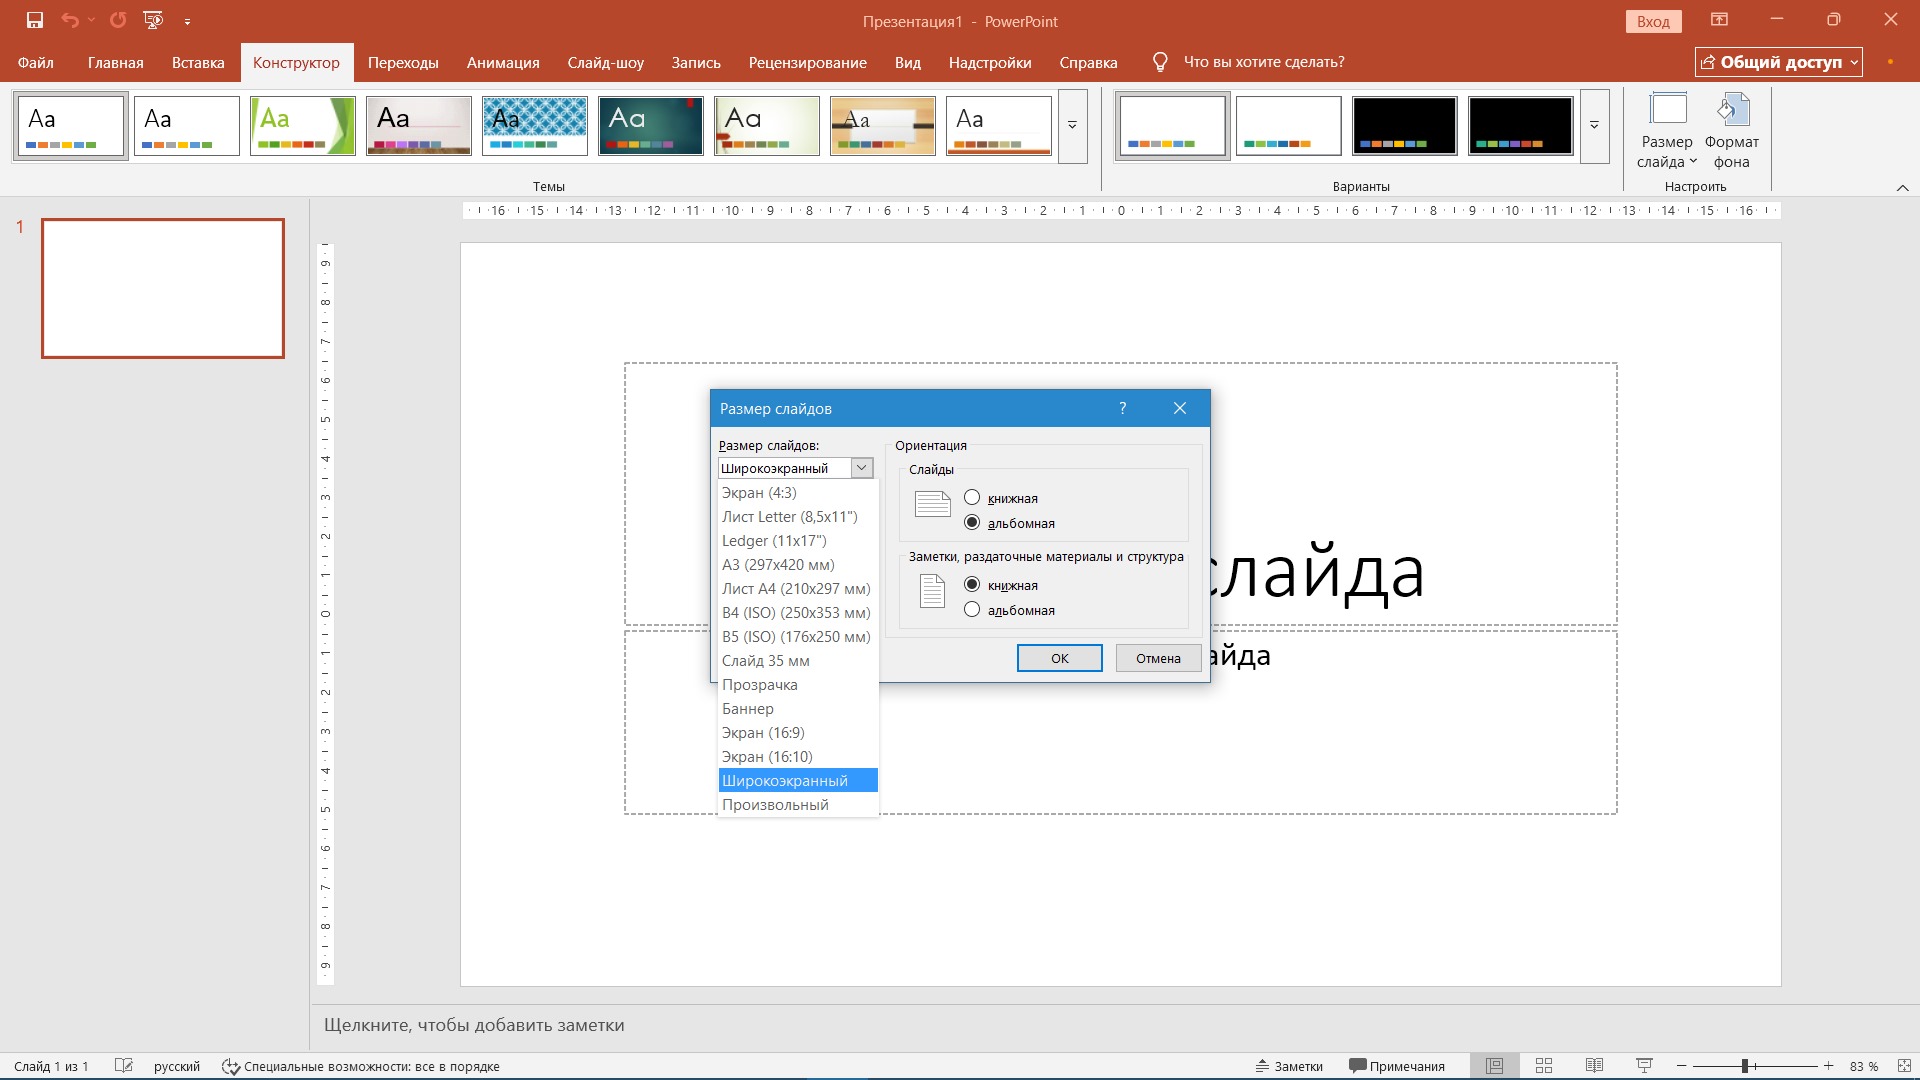
When you need a non-standard presentation slide size (for example, for a digital rack, poster or a special template), open “Tune the size of the slides...” and set the width and height.
Consider units of measurement (see, inches, pixels) and target: projector/screen or print. For example: for the printed transfer sheet, it is more convenient to immediately focus on the A4, and for the screen - on the proportion of the display.

How to create vertical slides in PowerPoint
Vertical PowerPoint slides are suitable for mobile presentations, posters and infographics. In the same "Slides Size" window, select the "Book" orientation.
Consider the limitation: some templates will go because PowerPoint will redecompose blocks. Lay more air on the edges in advance to harmoniously arrange the elements on the slide in the future, and do not forget to double-check the grid.

Standard sizes of slides and their application
Below is the standard presentation size, which is most common in the work:
|
Format |
Relationship of parties |
Template size (cm) |
Best suited. |
|
widescreen |
16:9 |
33,87 × 19,05 |
Monitor, Full HD/4K projector |
|
Normal. |
4:3 |
25,4 × 19,05 |
Old projectors, classrooms |
|
16:10 |
16:10 |
pattern-dependent |
Some laptops and panels |
|
A4 |
near-print |
Adapted for printing (27.5 x 19 cm) |
Print, PDF export |
Scaling content when changing size
When you change the size of a PowerPoint slide, content scaling is enabled: text, images, and shapes adjust to new boundaries. PowerPoint usually offers two modes: “Deploy” and “Size selection”. In practice, this is the main source of surprises: the picture can become softer, the signatures - smaller, and neat indentations - turn into porridge.
After changing the format, be sure to run through the slides and check the headlines, edges, grid, charts and icons.
-
Check the elements at the borders - they suffer first.
-
Make sure the text is not too small for the output device.
-
Reassemble complex slides with tables and graphs.
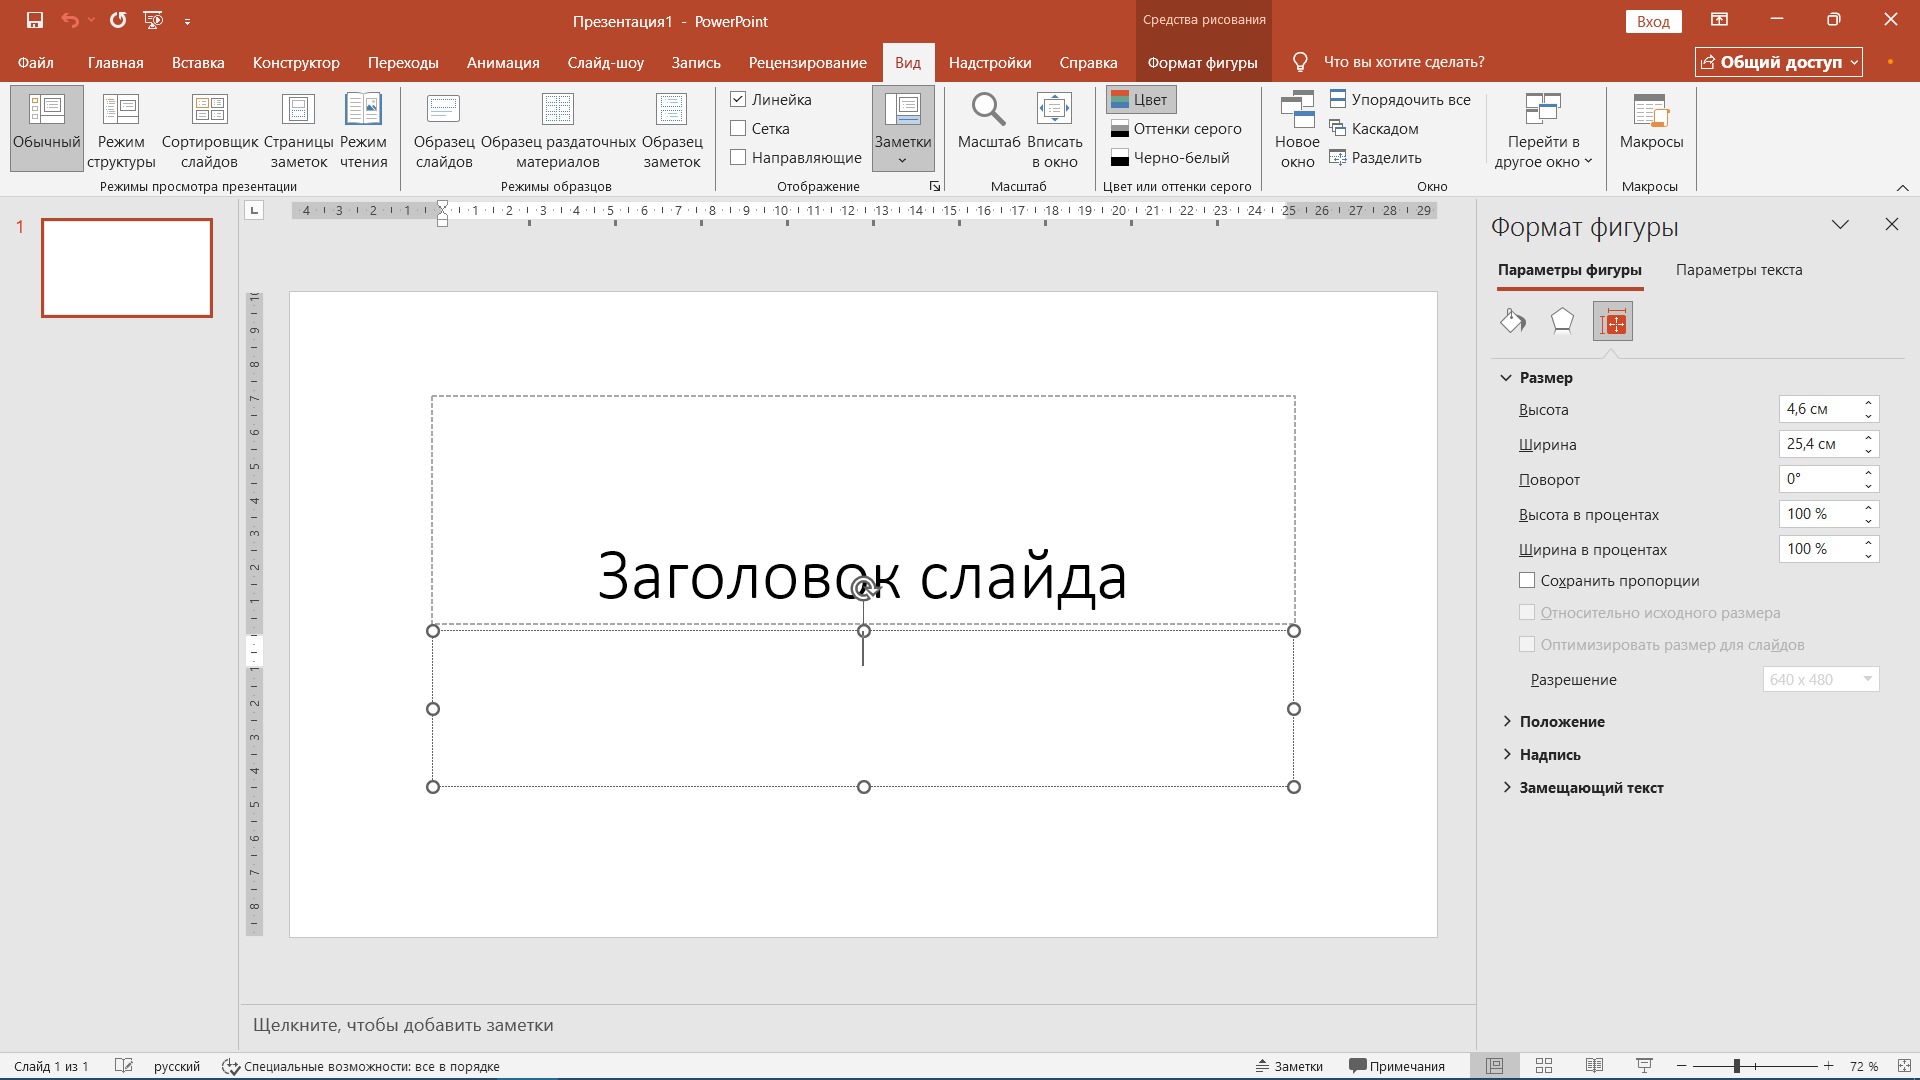
How to choose between the options "Deploy" and "Size selection"
"Deploy" increases elements under a new format: suitable for visual slides. Size picking tries to fit everything inside: it will be better for text and diagrams, but the overall scale can become smaller.
Be careful with the "Unfold" button!
When you change the format of the finished presentation, the program will ask what to do with the pictures and text: “Deploy” or use “Size selection”.
It is important to understand that the “Deploy” function does not just stretch pictures. It tries to keep the absolute dimensions of all your objects. Because of this, some of the pictures or headlines can simply “fly” beyond the boundaries of the new slide and clip. But “size selection” works safer: it will carefully compress all elements so that they are guaranteed to fit on a new sheet, even if they become a little smaller.
We offer this: a lot of text and captions - "Size selection", large images on the full screen - "Deploy", but with mandatory manual editing.
Optimal sizes for different presentation purposes
On which device will you show the presentation? A projector in the room, a laptop screen, a PDF mailing, or maybe you'll type? Keep in mind that this should be taken into account when choosing the size of slides.
-
For screens, the 16:9 format is most often used.
-
In projectors, the permissible size is usually 4:3.
-
If your information serves as a handout, choose the A4 format.
If in doubt, check the characteristics of the output device (screen/projector resolution) at the site. Choose the ratio of sides under them.
Maximum sizes of slides in PowerPoint
Remember the limitations. The maximum size of the PowerPoint slide reaches 142.24 × 142.24 cm. Such values are rare, but are needed for large print format. The higher the image quality, the larger the file size will be.
Dimensions for projectors and digital screens
Projectors and panels typically focus on aspect ratios (16:9 or 4:3) and standard resolutions (e.g. 1920×1080). It is important not to confuse “size” and “PowerPoint presentation resolution”: the size determines the geometry of the slide, and the resolution, that is, the quality of the images, depends on the source files and export.
Two Views 16:9 and the Myth of 1920×1080
By the way, if you open the size menu, you can notice two similar options at once: “Screen (16:9)” and simply “Widescreen”. What's the difference? They have the same proportions, but physically "Widescreen" gives you a larger canvas. It is more convenient to place a lot of small elements.
And a little technical clarification: often people confuse the physical size of the slide and the screen resolution (for example, the famous 1920×1080 pixels). By default, the physical size “Widescreen” when saved to the picture will give you 1280×720 pixels. Full HD (1920×1080) is a characteristic of the TV or monitor you will be performing on, not the base size of the slide in the program.
Sizes for printing and PDF export
If you need to prepare a document for printing, select the format under the sheet: A4 (210×297 mm) or Letter (8.5×11 inches). For printing, it is more convenient to test export one spread to PDF and check readability.
The Little Secret of A4 in PowerPoint
If you want to prepare a presentation strictly for printing on the A4, there is one trick. In the program, of course, there is a ready-made template “Sheet A4”, but it... Not exactly an A4! PowerPoint carefully creates a slide measuring 27.5 x 19.05 cm, rather than the standard 21 x 29.7 cm. This is done specifically so that a home or office printer “eats” the indentations and does not crop useful content.
But if you are preparing a layout for a professional typography and you need an exact millimeter to millimeter format, do not use a ready-made preset. Select the "Arbitrary" size and hit the numbers with your hands: width - 29.7 cm, height - 21 cm (for classic landscape orientation).
How to Set Up A4 Slides for Printing
-
“Design” → “Slide size” → “Tune the size of the slides...”
-
In the list, select "Sheet A4".
-
Check your orientation (album/book).
-
After the change, walk through the layout - indentations and tables may require editing.
Additional settings for printing
In PowerPoint, open File → Print and check the scaling under the sheet, fields, output quality. If the printer cuts the edges, it is better to lay indentations in the layout and not put important elements close to the boundaries.
How to change the size of a slide in a presentation
We have an answer for the reader, who is probably already asking himself the question: can you change the size of a sheet in the top point for just one slide? As much as we want to, we can't do that because there's a limitation in the program: a single size for all slides in the file.
But you can put your presentation in pieces. For example, make a file with a different format and show it separately. If it is important that important information lies in one place, try to sew the missing picture into the existing presentation. Turn a technical flaw into a design technique!
Common mistakes when changing the size of slides and how to avoid them
-
You change the format at the last minute without checking the output device. The result: either the fields are too wide or the slides are cropped.
-
You select the “Deploy” option, after which you lose the edges of the elements. In this case, the manual editing saves.
-
You manually stretch the image, which is why on the screen instead of a high-quality picture appears “soap”.
-
You forget to check fonts and line spacing after scaling the content, causing the text to sprawl.
Frequently asked questions (FAQ)
Can you resize just one slide in PowerPoint?
No, PowerPoint changes the size of the slide for the entire presentation. You can’t apply another format to just one slide because the size and aspect ratio are set for the entire file.
How to make an A4 slide in PowerPoint?
Open the "Design" tab → "Slide Size" → "Tune the size of the slides" and select the A4 format. This size is suitable for printing, exporting to PDF and preparing handouts.
How to make a vertical slide in PowerPoint?
In the slide size setting window, you can select the book orientation for slides. The vertical format is convenient for posters, leaflets, infographics and materials that will be viewed or printed in portrait orientation.
What if objects shifted after changing the size of the slide?
After changing the format, PowerPoint offers two options: Expand or Fit. Even after automatic scaling, it is worth manually checking text, images, tables and charts, because some elements may move or go out of bounds.
Which format should I choose: 4:3 or 16:9?
The 16:9 format is more often used for modern screens, monitors and online presentations. 4:3 is suitable for older projectors, classrooms and some printed scripts. The choice depends on the output device and where the presentation will be shown.