
How to Insert a Video into a PowerPoint Presentation: 5 Methods, Sound Settings, Formats and Fixes for Every Problem
5 ways to insert a video in PowerPoint: from your computer, YouTube or OneDrive. Sound settings, formats and fixes for common errors, step by step.

To insert a video into a PowerPoint presentation, open the Insert tab, click Video → This Device and choose the file. YouTube videos take a different route: Insert → Video → Online Video, then paste the link. The best format is MP4 with the H.264 and AAC codecs: Microsoft recommends it for every version of PowerPoint.
A one-minute clip often explains a product better than ten slides of text. Video shows the product at work, a real customer’s testimonial or a process that would be long and dull to describe in words. But during a presentation videos like to act up: the sound disappears, or a black box shows up instead of the clip on someone else’s laptop. Almost all of these surprises can be prevented when you insert the video — you just need to know how to add a video to a presentation the right way.
What to Know Before You Insert: Formats, Codecs and Embedding
A video file is like a parcel. The label on the box says what is inside — that is the extension: .mp4, .mov or .avi. The contents are packed in a particular way — that is the codec, the program that compresses the picture and the sound. PowerPoint checks both the label and the packing. That is why two MP4 files sometimes behave differently: one plays fine, while the other throws an error because it uses an unfamiliar codec inside. When choosing a video format for a presentation, look at both.
Video formats supported by the current version of PowerPoint for Microsoft 365 on Windows:
| Format | Extension | Support | Recommended |
|---|---|---|---|
| MPEG-4 (H.264 + AAC) | .mp4, .m4v | Full, on Windows and Mac | Yes |
| QuickTime | .mov | Yes | No |
| WebM | .webm | Yes; Vorbis audio needs a Windows extension | No |
| Windows Media, AVI, MPEG-2 | .wmv, .avi, .mpg | Legacy; PowerPoint converts them to MP4 on insert | No |
| Flash Video and other rare formats | .flv | No | No |
If your file will not open, convert it to MP4 with a free converter such as HandBrake or the online service Convertio. Keep the program version in mind too: older PowerPoint versions and the Mac versions support fewer formats, while MP4 with H.264 and AAC works almost everywhere.
Embedding vs. Linking a Video: Which to Choose
PowerPoint can store a video in two ways. When you embed it, the whole clip goes inside the presentation file, like an attachment to an email. When you link it, the video stays separate and the presentation only knows the way to it, like a link in the body of an email. Which way to choose depends on where and how you will show the presentation:
- Embed if you are sending the presentation to colleagues or clients, or presenting from someone else’s computer. The file gets heavier — the clip’s size is added to it. But the video will always be inside the presentation and will not get lost on the way.
- Link if you are presenting from your own laptop and want to keep the file small. Just do not move or rename the video after inserting it, or PowerPoint will not find it.
If embedded clips have bloated the presentation to the size of a short film, open File → Info → Compress Media in PowerPoint for Windows. The program offers several quality levels and shrinks the videos right inside the file.
Method 1. How to Insert a Video from Your Computer via the Insert Tab
This is the main and most reliable route. It works the same way in PowerPoint 2016, 2019, 2021, 2024 and Microsoft 365 on Windows and Mac.
Step by Step: Embedding an MP4 Video
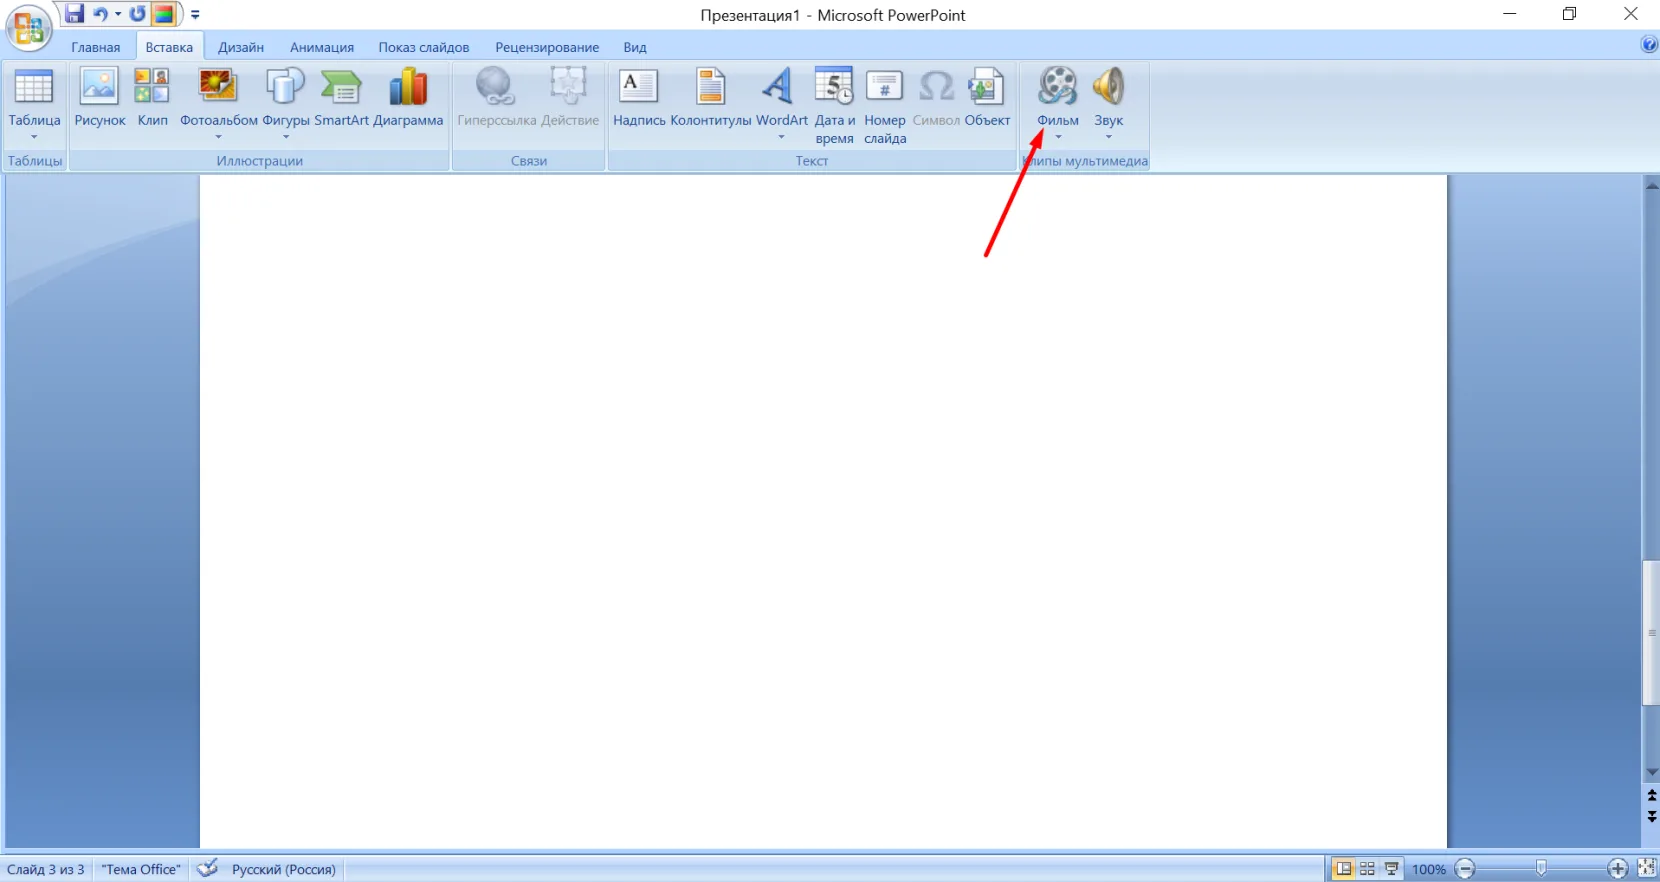
- Open the slide where the video should go.
- Go to the Insert tab.
- Click Video and choose This Device. In older versions the item is called Video on My PC.
- Find the MP4 file you need.
- Click Insert.
- Hover over the video and click the play button on the bar below it.
On a Mac the route is almost the same: Insert → Video → Movie from File.
The bar under the clip shows the play/pause button, a progress bar and the volume. You can drag the video frame by its corners like a regular picture. A tip for the future: keep your clips in the same folder as the presentation file — that makes them easier to find and hand over.
Linking to a File and Previewing
To link a video, click the arrow next to the Insert button in the file picker and choose Link to File. The link keeps working as long as you follow three rules: do not rename the clip, do not move it to another folder, and send the video together with the presentation.
You can check the clip right in the editor with the play button. If the video is silent or will not start in the editor, switch to Slide Show — sometimes everything works there.
Dragging the File with the Mouse
The fastest way is to drag the clip from a folder straight onto the slide. Open the folder with the video next to the PowerPoint window, grab the file with the mouse and drop it on the slide you need. A video added this way is always embedded in the presentation. Just right for drafts.
Method 2. How to Insert a Video from YouTube and the Web
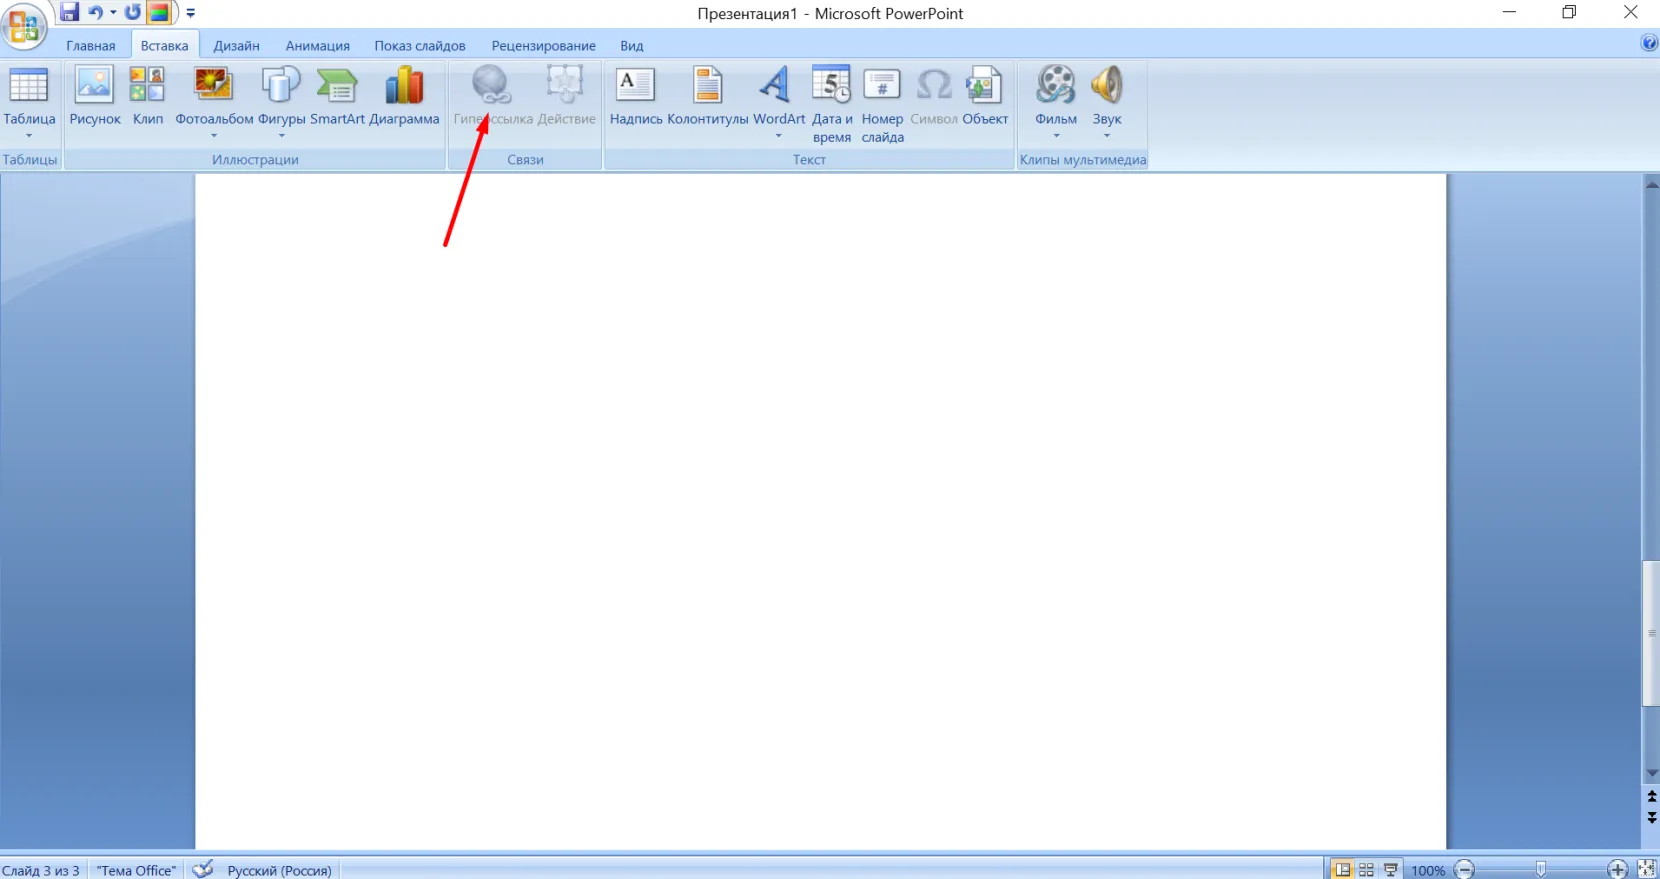
Online videos have one important feature: they play straight from the website, with that site’s own buttons and settings. So without an internet connection the clip will not start, and PowerPoint’s trimming, fades and bookmarks do not apply to it.
YouTube: Step by Step
- Open the video on YouTube.
- Copy the link from the browser’s address bar or with the Share button.
- Go back to PowerPoint and select the slide.
- On the Insert tab, click Video → Online Video.
- Paste the link into the field.
- Click Insert.
In PowerPoint 2016, online videos are inserted with an embed code. On YouTube, click Share → Embed, copy the code and paste it into the embed code field in the Online Video window. Before you present, be sure to play the clip where you will be presenting: slow Wi-Fi in a conference room can ruin the most dramatic pause.
Other Platforms and Limitations
Besides YouTube, PowerPoint for Microsoft 365, 2019, 2021 and 2024 accepts videos from Vimeo and SlideShare. Private videos and videos whose authors have disabled embedding cannot be inserted. In PowerPoint 2016, the only option for online sources is the embed code, and versions 2013 and 2010 offer even less — for working with video it is better to upgrade them.
YouTube ads can also break into your show. To avoid them, insert your own clips as MP4 files.
TikTok, Rutube and Other Unsupported Platforms
PowerPoint does not understand links to TikTok, Rutube, VK Video and similar services. The only way out is to download the clip and insert it as a regular MP4. Use only your own videos or clips whose authors have given permission. Vertical video looks neater inside a smartphone frame picture — more on that trick a bit later.
Methods 3–5: the Content Placeholder, Microsoft Stream and Stock Videos
- Content placeholder. In layouts such as Title and Content, the empty block has a set of small icons in the middle. Click the film-strip icon and choose a file — the video lands exactly in the reserved spot. Beginners often find this easier than the menu, but it only works in layouts with such a placeholder.
- Microsoft Stream. This is the corporate video service for Microsoft 365 work and school accounts. You can upload clips to Stream and insert them into the presentation via Online Video. The presentation file stays light, but the viewer needs access to the video in your organization.
- Stock videos. PowerPoint for Microsoft 365 has a free library of stock clips in the Video menu on the Insert tab. There are even more free videos on Pexels, Pixabay and Mixkit: download an MP4 and insert it as a regular file. Go for 1080p: a 4K clip bloats the presentation and may stutter on a weak laptop.
Playback Settings: Starting, Sound and Trimming the Video
All of a clip’s settings live on the Playback tab, which appears when you select a video on the slide. This is where you set how the clip starts, how loud it is and which part the audience will see. That way the video in your PowerPoint presentation plays with sound and exactly when you need it.
Autoplay or On Click
The Start field on the Playback tab has three modes:
- In Click Sequence — the video starts on a normal click, like the next animation step. Suits most presentations.
- Automatically — the clip starts by itself when the slide appears. If the slide has animations before the video, they play first.
- When Clicked On — the video starts only if you click the clip itself. Handy when you are not sure you will need the clip.
The Play Full Screen checkbox expands the video to the full screen during the show.
How to Turn On and Adjust Video Sound
Volume is set with the Volume button on the Playback tab: it offers several levels and full mute. If there is no sound, check three things in order: the computer’s volume, the clip’s volume level in PowerPoint and the file itself — open it in a regular player and make sure it has an audio track at all. It is best to test the sound on the equipment you will present on.
Trimming, Bookmarks and Captions
You do not have to cut a long clip in a video editor. Select the video and click Trim Video on the Playback tab, then move the green and red sliders to the start and end of the part you need. Bookmarks help you jump to key moments during the show, and the Insert Captions button attaches a captions file in .vtt format. Trimming does not work in PowerPoint for the web, and complex editing is better left to a dedicated video editor.
Styling the Video on the Slide: Frames and Creative Tricks
The Video Format tab turns a bare rectangle into a neat slide element. It has styles, frames, shadows, and brightness and contrast settings. Three tricks that look good almost every time:
- Device frame. Insert a PNG of a laptop or phone with a transparent screen and place the video exactly on the screen. An app demo instantly looks like an app store ad.
- Video as a background. Stretch the clip across the whole slide, send it to the back and put a heading on top. A calm video without sharp movements works like a live wallpaper.
- Video in a shape. On the Video Format tab, click Video Shape and choose a circle, a rounded rectangle or another shape. A round video of the speaker looks like a video call window.
If you have no time for design, the Veonix team will create a turnkey presentation — with video embedded neatly that works the same on any computer.
Common Mistakes When Inserting Video and How to Fix Them
Most video problems come down to an unsuitable format, missing sound and a lost link to the file.
“PowerPoint cannot insert a video from the selected file”
This message appears for several reasons:
- Unsuitable format or codec. Convert the file to MP4 with H.264 and AAC using HandBrake or Convertio.
- Corrupted file. Check whether the clip opens in a regular player and download it again if needed.
- A codec is missing on the computer. Install the required codec or convert the file to MP4.
- The file is too heavy. Compress the video in a converter or reduce the resolution to 1080p.
- A complicated file path. Copy the clip to the desktop and insert it again.
The Video Has No Sound or Will Not Play
Work through the chain: the start mode in the Start field, the computer’s volume, the clip’s volume in PowerPoint, the file’s codec. In PowerPoint for Windows, look in File → Info. If the program finds a video that may not open on another computer, an Optimize Compatibility button appears there — click it, and PowerPoint will prepare the clip for the show. No button means compatibility is fine. If the clip is silent in the editor, start the slide show — sometimes the video only works there.
The Video Does Not Work on Another Computer
The culprit is almost always a link instead of embedding: the presentation traveled, but the clip stayed at home. There are two fixes. The first is to delete the video and insert it again via This Device. The second is to choose File → Export → Package Presentation for CD, and PowerPoint will gather the presentation and all linked files into one folder. Before sending a file, it is best to always embed the video.
How to Save a Presentation as a Video
Sometimes it is easier to send a finished video. Exporting a presentation to video works like this:
- Open File → Export.
- Choose Create a Video.
- Pick the quality: Ultra HD (4K), Full HD (1080p), HD (720p) or Standard (480p).
- Set how many seconds each slide is shown.
- Click Create Video and choose a folder to save it in.
Full HD is enough for most tasks — the picture is sharp and the file does not bloat. The 4K option is available only on Windows 10 and later. On a Mac the route is shorter: File → Export, then MP4 or MOV format. Linked clips may get lost during export, so embed them in the presentation beforehand. A finished video can no longer be edited: changes are made in the source presentation and exported again.
Key Takeaways
- MP4 with the H.264 and AAC codecs is the most reliable format for any version of PowerPoint.
- If you are sending the presentation to other people, embed the video.
- Test the sound and playback on the equipment you will present on.
- If File → Info shows an Optimize Compatibility button, click it before sending the presentation.
- For an important talk, save a backup video version of the presentation via File → Export → Create a Video.